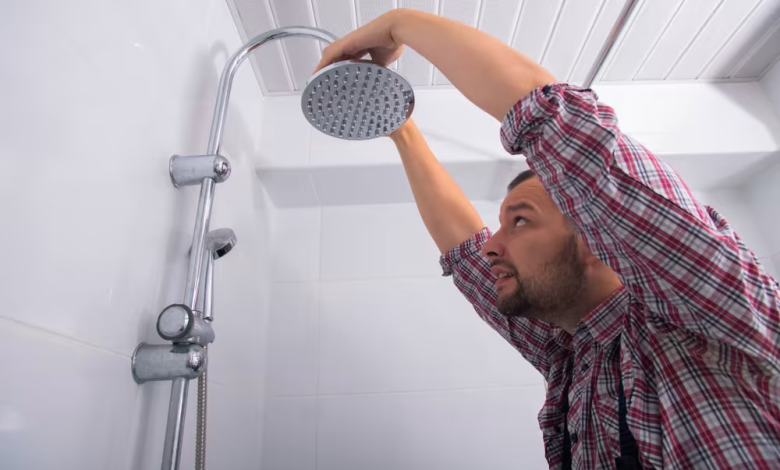
The Ultimate Guide to Shower Installation: A Professional Overview

Shower installation is a significant aspect of bathroom remodeling and new constructions, contributing to both the functionality and aesthetics of the space. A well-executed installation can enhance the overall value of a property and provide a refreshing experience for users. This guide will explore the key considerations, steps, and best practices associated with shower installation.
Table of Contents
Understanding the Importance of Professional Shower Installation
When it comes to shower installation, the stakes are high. A poorly executed installation can lead to issues such as water leaks, mold growth, and significant damage to surrounding areas. For this reason, it is crucial to prioritize professional installation services. Hiring experienced professionals not only ensures compliance with local building codes but also enhances the durability and functionality of the shower system.
Types of Showers: Choosing the Right Option
Before proceeding with shower installation, it is essential to select the type of shower that best suits your needs and preferences. Here are some common options:
1. Built-in Showers
Built-in showers are integrated into the bathroom’s design and can be customized to fit any space. They typically feature tiles or fiberglass and offer a wide range of design options.
2. Prefabricated Showers
Prefabricated or modular showers are factory-made units that are easy to install. They come in various sizes and styles, making them a popular choice for homeowners seeking a quick and efficient solution.
3. Shower/Tub Combos
Combining a shower and bathtub offers versatility and is ideal for smaller bathrooms. This option provides the convenience of both bathing and showering in one unit.
4. Walk-in Showers
Walk-in showers offer a modern aesthetic and can create an open, spacious feel in the bathroom. They often feature glass enclosures and can be designed to accommodate various styles and preferences.
Preparing for Shower Installation
Preparation is critical to a successful shower installation. Here are the steps to ensure a smooth process:
1. Assess the Space
Before beginning the installation, assess the existing plumbing and electrical systems. Ensure that the space is adequate for the desired shower type and that necessary modifications can be made.
2. Gather Required Materials
Depending on the chosen shower type, gather all necessary materials, including the shower unit, plumbing fixtures, tiles (if applicable), waterproofing materials, and adhesive. A complete checklist will help streamline the process.
3. Plan for Drainage
Proper drainage is vital for shower performance. Ensure that the shower drain is positioned correctly and that the plumbing system can accommodate the water flow. This may involve repositioning existing plumbing lines.
Steps for Professional Shower Installation
A professional shower installation involves several key steps, ensuring that the installation is both efficient and effective.
1. Remove the Existing Shower
If replacing an old shower, the first step is to remove the existing unit. This may involve disconnecting plumbing, removing tiles, and dismantling any enclosures.
2. Prepare the Shower Area
Once the old unit is removed, the area should be cleaned and repaired as necessary. This may involve patching walls, leveling the floor, and installing a new shower pan if needed.
3. Install Waterproofing
Proper waterproofing is essential to prevent water damage. This typically includes applying a waterproof membrane to the walls and floor, ensuring that the area is sealed effectively.
4. Position the Shower Base
For prefabricated showers, place the shower base according to the manufacturer’s instructions. Ensure it is level and secure to the subfloor to prevent shifting during use.
5. Connect Plumbing Fixtures
Next, connect the plumbing fixtures, including the showerhead, faucet, and drain. Ensure all connections are tight to prevent leaks. Professional plumbers typically use specialized tools and techniques to ensure a secure fit.
6. Install the Shower Walls
For built-in showers, install the shower walls according to the design plan. This may involve tiling or applying a solid surface. Ensure that all seams are properly sealed to prevent water infiltration.
7. Finish the Installation
Complete the installation by adding any necessary fixtures, such as grab bars or shelves. Ensure all surfaces are clean and that the shower operates correctly before finalizing the project.
Post-Installation Considerations
After the shower installation is complete, several post-installation considerations should be addressed:
1. Testing for Leaks
Test the shower for any leaks by running water for several minutes. Check all connections and seals to ensure everything is secure.
2. Sealing Grout Lines
If tiles were installed, apply a sealer to the grout lines to prevent water penetration and mold growth. Regular maintenance will help extend the life of the installation.
3. Regular Maintenance
To keep the shower in optimal condition, schedule regular maintenance checks. This includes inspecting for leaks, cleaning fixtures, and ensuring that the drainage system remains clear.
Conclusion
Shower installation is a complex process that requires careful planning, execution, and ongoing maintenance. By understanding the different types of showers available, preparing adequately, and following professional installation guidelines, homeowners can achieve a functional and stylish shower space. Prioritizing professional services not only enhances the quality of the installation but also ensures long-term satisfaction with this essential home feature.

