

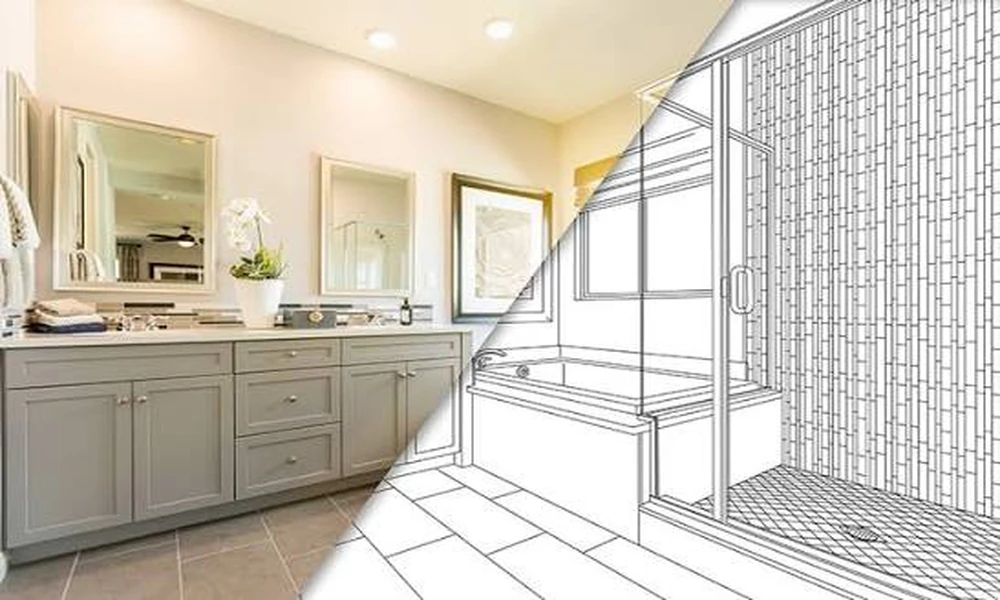
Most bathroom remodels don’t blow their budget on tile. They blow it on what’s hiding behind the wall. Plumbers who pull out old vanities find rotten subfloor, corroded shutoff valves, and drain lines pitched wrong decades ago, and every one of those surprises lands on your invoice six weeks after the demolition crew leaves. The fix isn’t a bigger budget. It’s a better plan, built around your plumbing instead of your Pinterest board.
Here’s the order that actually works: find out what’s behind the wall first, sequence your trades correctly, and choose fixtures that fit the rough-in you already have. Do those three things and you keep the pretty part of the project intact. Skip them and you’re the homeowner in the group chat watching a tile invoice climb while a pipe issue grinds everything to a halt.
If you’d rather hand the whole sequence to a crew that already knows the local quirks, looking at bathroom remodeling services in Albuquerque is a reasonable starting move, since older housing stock in the Southwest tends to carry its own set of plumbing surprises. The rest of this piece is what you’d want to understand before you sign anything, whether you hire out or manage the project yourself.
Start With the Rough-In, Not the Tile
The rough-in is the position of your supply lines and drain in the wall and floor. It’s the least glamorous part of the project and the single biggest cost driver. Move a toilet four inches and you’re reworking the drain, cutting the subfloor, and possibly adjusting a vent. Keep the toilet where it is and that money stays in your pocket.
Before you buy a single fixture, measure three things: the centerline distance from your toilet to the side walls, the rough-in distance from the back wall to the toilet drain, and the distance between studs behind your vanity. Those numbers tell you which replacement fixtures drop in and which ones demand surgery. I’d budget a full weekend for this measuring pass, plus a plumber’s visit if anything looks off. It’s the cheapest insurance in the whole project.
Watch for the big three hidden problems while you’re in there. Old galvanized steel supply lines that have narrowed to a trickle. Cast iron drains that have rusted through from the inside. And a shower valve with no access panel, which turns a simple cartridge swap into a wall removal later. Any of those three showing up means you plan the remodel around them, not after them.
The Three-Wall Rule for Avoiding Demo Disasters
Here’s the framework I use when a homeowner asks whether a layout change is worth it. Call it the three-wall rule. A remodel that stays inside the existing wall footprint is a cosmetic project. A remodel that moves plumbing across one wall is a plumbing project. A remodel that shifts the toilet or shower drain to a different wall is a structural project, and it needs the full sequence before anyone buys tile.
The rule isn’t a code requirement. It’s a planning shortcut that matches how contractors actually bid. The moment your project crosses from cosmetic into structural, your timeline stretches by weeks, not days, and every downstream trade waits on the plumbing crew.
| Project tier | What changes | Plan your order around |
|---|---|---|
| Within the wall | Fixtures, tile, paint, vanity | Demolition, then install, then finishes |
| Across one wall | Supply or drain relocation | Permit, rough-in, inspection, then finishes |
| Different wall | Toilet or shower drain shift | Structural review, permit, rough-in, inspection, framing, finishes |
Use this table before you call anyone. It tells you what kind of project you’re actually running, and it keeps a remodel quote from turning into an argument about scope midway through.
Sequence the Trades or Pay Twice
Trades work in a specific order for a reason. Demolition, then plumbing, then electrical, then inspection, then drywall, then waterproofing, then tile, then fixtures, then paint. Every trade that shows up out of order creates rework, and rework is where a modest bathroom remodels into a very expensive one.
I’ve watched homeowners let the tile installer start before the shower valve was final-inspected. The valve failed inspection, the tile came back out, and the whole bath sat open for another two weeks. Nobody was being careless. The schedule just didn’t have room for the inspection step.
Build your timeline backwards from the inspection dates, not forwards from the demolition date. Inspectors run on their own clock, and a missed inspection slot can stall the entire job while every other trade sits idle. The National Institute of Standards and Technology maintains measurement and reference standards that building inspections ultimately trace back to, which is a long way of saying the inspection step is not a formality you can skip when you’re in a hurry.
Waterproofing Is Where Cheap Remodels Fail
The waterproofing membrane behind your tile is invisible once the project is done and it’s the first thing to fail when someone cuts corners. Cement board is not waterproof. Backer board with a proper membrane is. A painted-on liquid membrane needs two full coats and a cure time, and if the installer skips the second coat because the schedule is tight, you’ll find out in the form of a stained ceiling in the room below.
Ask the contractor to photograph the waterproofing before tile goes up. Not a vague promise. Actual photos at every wall junction and around the drain flange. A crew that’s confident in its work will send those photos without blinking.
The National Association of Home Builders tracks remodeling trends and construction practice, and the pattern is clear year after year: the failures that make it into the complaint pile almost always trace back to work that got covered up before anyone checked it.
Ventilation, Permits, and the Paperwork That Protects You
A bathroom without adequate ventilation is a bathroom that grows mold, and the fix is not a bigger window. You need a properly sized exhaust fan vented to the outside, not into the attic. Without one, moisture stays in the wall cavity right beside that expensive waterproofing membrane you just paid for.
Pull the permits. Every time. A bathroom remodel with plumbing changes needs an inspection, and an unpermitted remodel can complicate a future sale or refinance. The permitting office in your city publishes its own requirements, and they’re rarely as painful as homeowners fear.
One more detail most guides skip: choose a low-flow toilet and showerhead that actually match your plumbing capacity. The Environmental Protection Agency sets baseline standards for water use in fixtures, and matching your fixtures to those standards saves water for years without any installer guesswork.
A Five-Item Pre-Demo Checklist
Run through this before the first sledgehammer swing. It takes twenty minutes and it prevents the kind of mid-project phone call nobody wants.
- Shutoff valves: turn both the sink and toilet valves off and back on. If they’re stuck or weeping, replace them now.
- Toilet rough-in: measure from the finished back wall to the drain center. A standard toilet needs the right offset to fit without moving the flange.
- Shower valve access: confirm you can reach the cartridge from an adjacent room or panel. If not, plan the opening into the budget.
- Exhaust fan: verify it vents outside and moves enough air for the room’s cubic footage.
- Permit requirements: check your local office before demolition starts, since some cities require inspection on any project that touches supply or drain lines.
Get through all five and you’re running a project with known variables instead of a surprise generator. That’s the whole game.
What a Realistic Timeline Looks Like
A cosmetic refresh with no plumbing moves can run two to three weeks with good scheduling. A project that relocates supply lines takes about a month. A full layout change with a toilet or shower drain shift, structural review, and two inspections runs six to eight weeks, plus however long the permit office takes to respond.
Add a buffer for the inspection step. I’d argue a two-week cushion is the realistic minimum on any project that touches plumbing lines, because an inspector’s calendar is outside your control and every trade behind that inspection is waiting on the result.
If a contractor quotes you a layout change on a two-week timeline with no inspection mention, ask what’s missing from the schedule. There’s always something. Better to find it before demolition than in the middle of it.
The Bottom Line on a Bathroom That Lasts
The remodel that holds up isn’t the one with the best tile. It’s the one where the plumbing decisions happened first, the trades ran in order, the waterproofing got photographed, and the inspector signed off before anyone reached for a trowel. Everything else is decoration.
Which of those five checklist items would break your current plan if you checked it today? If the answer is the toilet rough-in or the shower valve access, take the extra week now. It costs a lot less than discovering the problem after the tile is sealed.
